
Answer
Sep 18, 2024 - 03:20 AM
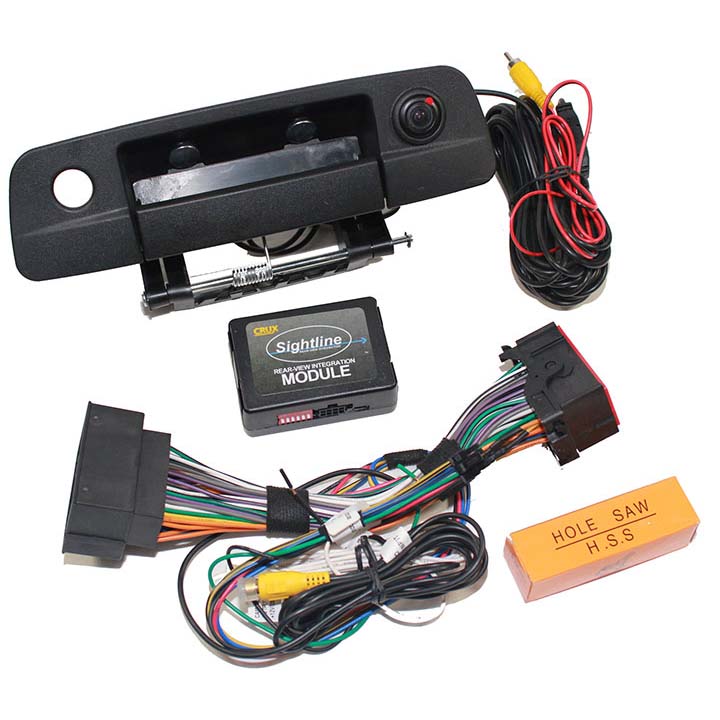
To use the Crux RVCCH75D rear-view camera for your 2013-2017 Dodge RAM, follow these steps:
Installation:-
Tools Required: You'll need screwdrivers, a trim removal tool, wire strippers, electrical tape, and possibly a drill (for custom mounting).
-
Disconnect Battery: Disconnect the negative terminal of the vehicle's battery to avoid short circuits.
-
Remove Factory Tailgate Handle:
- The camera replaces or integrates into the existing tailgate handle.
- Use the appropriate tools to remove the handle, ensuring you follow the specific steps for the Dodge RAM.
-
Install the Camera:
- Mount the camera in place of the existing handle (or in the spot designated for installation).
- Secure the camera, ensuring it’s facing correctly.
-
Route the Wires:
- Run the camera cable along the chassis or through the tailgate to the front of the vehicle.
- Be careful to avoid areas where the wire could get pinched or damaged.
-
Connect Power and Video Signal:
- Connect the camera’s power cable to the reverse light power wire (usually found in the tail light harness). This will power the camera when the vehicle is in reverse.
- Route the video signal cable from the rear to the head unit or display.
-
Test the Connections:
- Reconnect the vehicle battery.
- Put the vehicle in reverse to ensure the camera powers up and displays the rear view on the screen.
-
Secure All Components: Once verified, secure the wiring and reinstall any panels you removed.
-
Activating the Camera: Once installed, the camera will automatically activate when the vehicle is put into reverse gear.
-
Display: The rear-view image will appear on your factory display or aftermarket head unit.
If you have an aftermarket display or head unit, follow the manufacturer's instructions for setting up the video input source.
Would you like more details about any specific part of the installation process?


Add New Comment