
Answer
Sep 03, 2024 - 09:31 AM
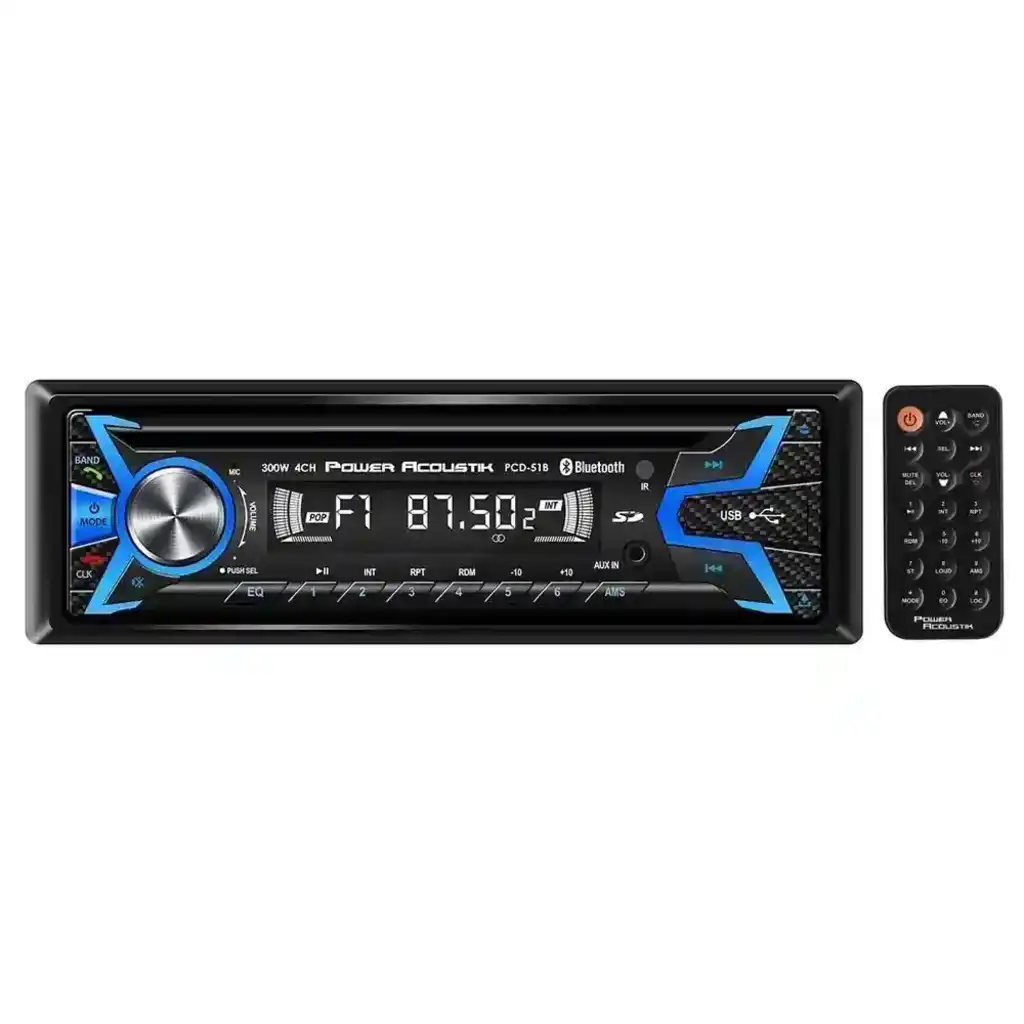
The PCD51B Power Acoustik AM/FM/CD Player USB BT is an aftermarket head unit designed to replace the factory stereo in a vehicle. Mounting this unit typically follows a standard process for installing a single-DIN car stereo. Here’s a step-by-step guide on how to mount the PCD51B head unit properly:
1. Gather Necessary Tools and Equipment:- Screwdrivers (Phillips and flathead)
- Panel removal tool (plastic trim tool)
- Wiring harness adapter (specific to your vehicle)
- Antenna adapter (if needed)
- Mounting kit (single-DIN or double-DIN, depending on your vehicle)
- Electrical tape or wire connectors (butt connectors or crimping tool)
- Wire stripper/crimper tool
-
Disconnect the Battery: Before beginning any electrical work, disconnect the negative terminal of your vehicle's battery to avoid short circuits or accidental electrical discharge.
-
Remove the Factory Stereo:
- Use a panel removal tool to carefully pry off the trim panel surrounding the existing stereo. The panel may have screws or clips that need to be removed or released.
- Once the trim is removed, locate and remove the screws or bolts securing the factory stereo to the dash.
- Gently slide the stereo out of the dash and disconnect the wiring harness and antenna cable from the back of the unit.
-
Connect the Wiring Harness Adapter:
- Vehicle-Specific Adapter: Use a vehicle-specific wiring harness adapter to connect the PCD51B to your vehicle's factory wiring. This adapter is necessary to connect the new stereo to the car's power, ground, speakers, and other connections without cutting the factory wiring.
- Match the Wires: Match the wires from the Power Acoustik PCD51B harness to the corresponding wires on the vehicle-specific adapter. The wires are usually color-coded:
- Yellow: Constant 12V (battery)
- Red: Switched 12V (ignition)
- Black: Ground
- Blue: Power antenna or amplifier turn-on (if applicable)
- White/Gray/Green/Purple: Speaker wires (front left, front right, rear left, rear right)
- Blue/White Stripe: Remote turn-on for amplifier (if needed)
- Secure Connections: Use butt connectors, crimping tools, or solder and electrical tape to secure the connections. Make sure each connection is insulated to prevent short circuits.
-
Connect the Antenna Adapter (if needed):
- Depending on your vehicle, you may need an antenna adapter to connect the factory antenna to the new stereo. Connect the adapter to the vehicle’s antenna cable and plug it into the antenna input on the back of the PCD51B.
-
Install the Mounting Sleeve:
- The PCD51B will come with a metal mounting sleeve designed to fit into a single-DIN opening. Slide the sleeve into the dash opening where the factory stereo was located.
- Bend the metal tabs on the sleeve outward to secure it in place inside the dash. This step ensures that the sleeve is tightly anchored and does not move.
-
Attach the Mounting Brackets (if needed):
- Some vehicles require additional mounting brackets to secure the stereo. If your vehicle requires this, attach the brackets to the sides of the stereo unit using the screws provided.
-
Connect the Wiring and Antenna:
- Plug the newly connected wiring harness adapter and antenna adapter into the corresponding inputs on the back of the PCD51B head unit.
- Ensure all connections are secure and there are no loose wires.
-
Slide the Unit into the Dash:
- Carefully slide the PCD51B head unit into the mounting sleeve until it clicks or locks into place. Ensure that the unit is seated correctly and securely within the dash opening.
- Reconnect the Battery: Reconnect the vehicle’s battery by attaching the negative terminal back onto the battery post.
- Power On the Unit: Turn on the ignition and power on the PCD51B to test its functionality. Ensure that all functions, including AM/FM radio, CD player, Bluetooth, USB input, and speakers, work correctly.
- Check Sound and Reception: Verify that all speakers are working properly and that the radio reception is clear. Test the CD player and Bluetooth pairing to confirm all features operate as expected.
- Reinstall the Trim Panel: Once you have verified the functionality, reinstall the trim panel that was removed to access the factory stereo. Ensure it is securely attached and fits correctly around the new head unit.
- Secure Any Loose Cables: Ensure that all wiring is secured behind the dash to prevent rattles or interference with the vehicle’s operation.
The PCD51B Power Acoustik AM/FM/CD Player USB BT is mounted into a single-DIN slot using a metal mounting sleeve and, if necessary, additional mounting brackets. Proper installation involves disconnecting the vehicle's battery, removing the factory stereo, connecting the wiring harness, and securely fitting the new head unit into the dash. Always ensure the unit is securely mounted, all electrical connections are correctly made, and that the new stereo functions as intended before completing the installation process.


Add New Comment