Answer
Aug 20, 2024 - 08:15 AM
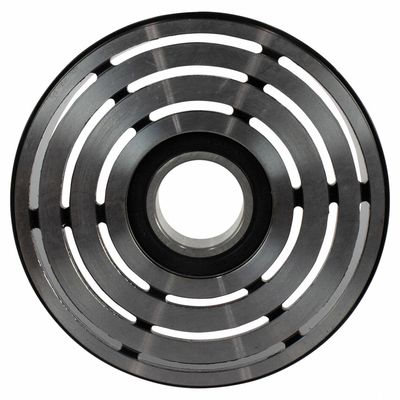
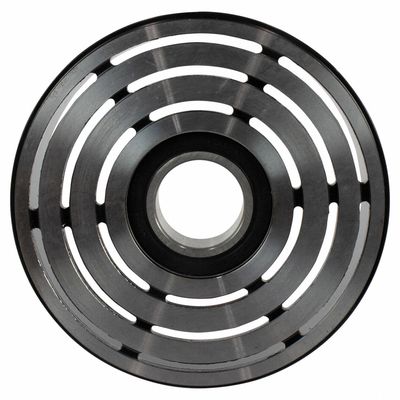
Yes, it is possible to install a Motorcraft YB-3289 A/C compressor clutch pulley, but it requires some mechanical knowledge, the right tools, and attention to detail. Here’s an overview of the process:
Tools and Materials Needed:- A/C clutch pulley removal/installation tool kit (specific to your vehicle)
- Snap ring pliers
- Torque wrench
- Ratchet and socket set
- Screwdrivers
- Pulley puller (if required)
- Clean rags and lubricant (optional)
- Safety glasses and gloves
1. Preparation
- Disconnect the Battery: Before starting, disconnect the vehicle’s battery to avoid any electrical shorts.
- Access the A/C Compressor: Depending on your vehicle, you may need to remove other components (like the serpentine belt, engine covers, or other accessories) to access the A/C compressor.
2. Remove the Old Clutch Pulley Assembly
- Remove the Serpentine Belt: Relieve the tension on the serpentine belt using a tensioner tool, then remove the belt from the A/C compressor pulley.
- Remove the Clutch Plate: Use a wrench to remove the center bolt holding the clutch plate to the compressor shaft. Carefully pull off the clutch plate, taking care not to lose any spacers or shims that may be present.
- Remove the Snap Ring: Use snap ring pliers to remove the snap ring that holds the pulley in place on the compressor shaft.
- Remove the Pulley: Use a pulley puller if necessary to slide the pulley off the compressor shaft. Be careful not to damage the compressor or the shaft.
3. Install the New Clutch Pulley
- Install the New Pulley: Slide the new pulley onto the compressor shaft. Ensure it is aligned properly and seated evenly.
- Reinstall the Snap Ring: Once the pulley is in place, secure it with the snap ring using snap ring pliers. Make sure the snap ring is fully seated in its groove.
- Install the New Clutch Plate: Position the clutch plate onto the compressor shaft and secure it with the center bolt. You may need to adjust the spacing with shims to ensure the correct air gap between the clutch plate and pulley (refer to the vehicle’s service manual for the specific air gap specification).
- Torque the Center Bolt: Use a torque wrench to tighten the center bolt to the manufacturer’s recommended specification.
4. Reassemble and Test
- Reinstall the Serpentine Belt: Route the serpentine belt back over the A/C compressor pulley and other accessories, then release the tensioner to secure the belt in place.
- Reconnect the Battery: Reconnect the vehicle’s battery.
- Test the A/C System: Start the engine and turn on the A/C. Listen for any unusual noises and check that the clutch engages and disengages correctly. Ensure the A/C is cooling properly.
5. Final Inspection
- Check for Proper Operation: Observe the A/C compressor clutch operation to make sure everything is functioning correctly. The pulley should spin freely when the A/C is off and engage smoothly when the A/C is on.
- Inspect for Leaks or Misalignment: Ensure that all components are properly aligned and that there are no leaks or unusual vibrations.
- Specialized Tools: Installing an A/C compressor clutch pulley often requires specific tools, such as a clutch puller and installer, which are essential for removing and installing the pulley without damaging the compressor.
- Expertise: If you are unfamiliar with A/C systems or lack the necessary tools, it may be best to have this work done by a professional mechanic. Improper installation can lead to issues like clutch slippage, incorrect air gap, or damage to the compressor.
While it is possible to install a Motorcraft YB-3289 A/C compressor clutch pulley yourself, it’s a task that requires precision and the right tools. If done correctly, the new clutch pulley will ensure proper operation of your vehicle’s A/C system. If you're not confident in performing the installation, consider seeking help from a qualified mechanic to ensure the job is done correctly.


Add New Comment